

Apple is a popular brand today. Not just because you see a few people working on their MacBooks at your local Starbucks or any local coffee shop. It’s also very popular in the corporate world. The Mac wave in companies started with developers wanting to use Xcode and senior management buying Macs for personal use, and it spread rapidly. In addition, corporate decision-makers didn’t even need to be convinced about the iPhone or iPad.
Of course, it wasn’t like that in the 90s and 2000s. Apple still had a corporate market. But this market was slightly different from Microsoft’s corporate market. If a company used Macs, it was most likely in the advertising agency, publishing, or media sectors. However, all companies outside these areas were already using Microsoft’s Windows. Microsoft also began managing Windows devices on the network under a single domain with its server-based Active Directory structure in the early 2000s. This was exactly what the corporate world wanted.
Apple shifted its focus to the consumer electronics sector by the late 1990s and early 2000s. The iMac, iPod, and later the iPhone and iPad were products of this era. At the same time, Apple developed an operating system called MacOS X Server in the late 1990s and entered the server systems market. In subsequent years, hardware products named xServe and xServe Raid would complete the MacOS X Server product family.
Apple’s MacOS X Server used Open Directory, a domain structure similar to Active Directory. But the problem was that Apple had no corporate market in the 2000s. That’s why Active Directory and Microsoft server software have survived to this day. But both MacOS X Server and Open Directory are now history.
Of course, Apple’s transformation from having no presence in the enterprise market to becoming a desirable option even for enterprise companies didn’t happen overnight. There were various stages involved. Let’s take a look at the stages we went through before arriving at today’s Platform SSO.
Phase 1: Macs with local accounts
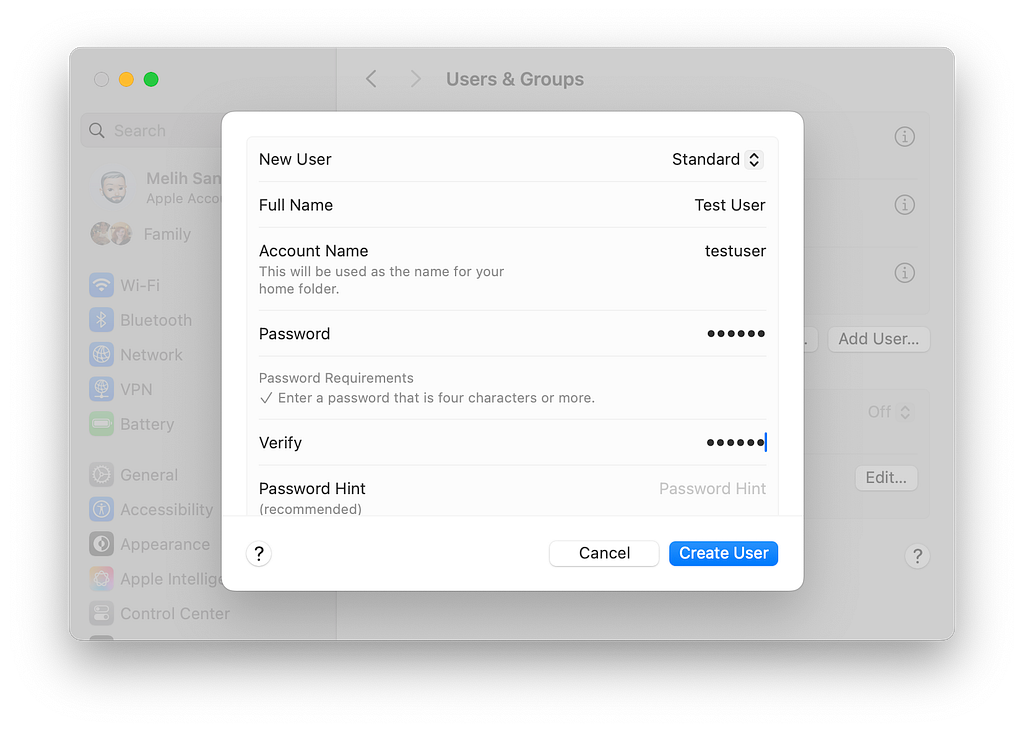
In the 1990s and 2000s, when Apple had no presence in the corporate world, all Mac users operated their computers through local accounts. As you know, when you purchase a new Mac and proceed through the Setup Assistant steps, you create a single user account. This initial Admin account often remains the only account for computer usage.
Even in universities and advertising/publishing organizations where Macs were used more intensively in the 90s and 2000s, only one Admin account and one Standard account were created and used that way.
In fact, this usage is still a viable option for small working groups that do not want to allocate a budget to a central management system. There are still institutions that continue to operate with local accounts.
Phase 2: Active Directory Bind
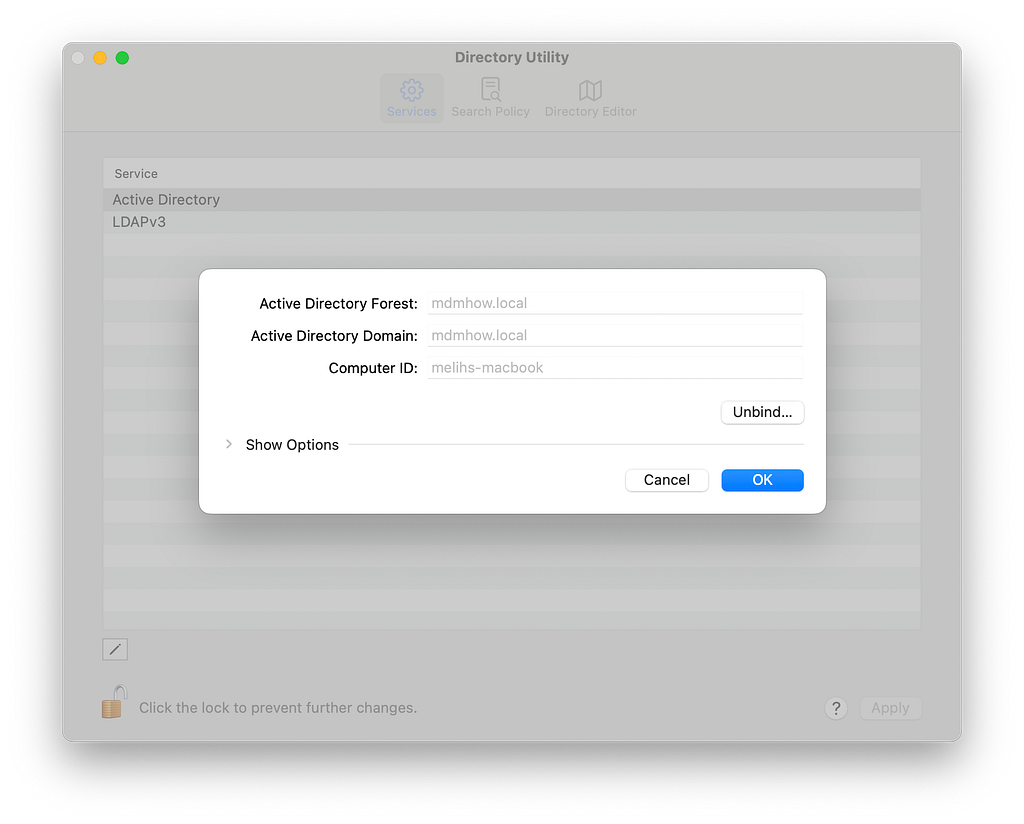
Following the rise in popularity of Microsoft Active Directory, the Directory Utility application was added to the operating system starting with MacOS X Panther (10.3), and Macs became capable of joining Active Directory domains. Today, we can manually bind any Mac to an AD environment OR bind it via an MDM profile. As a result, Mac users can log in to their computers using account information defined on AD.
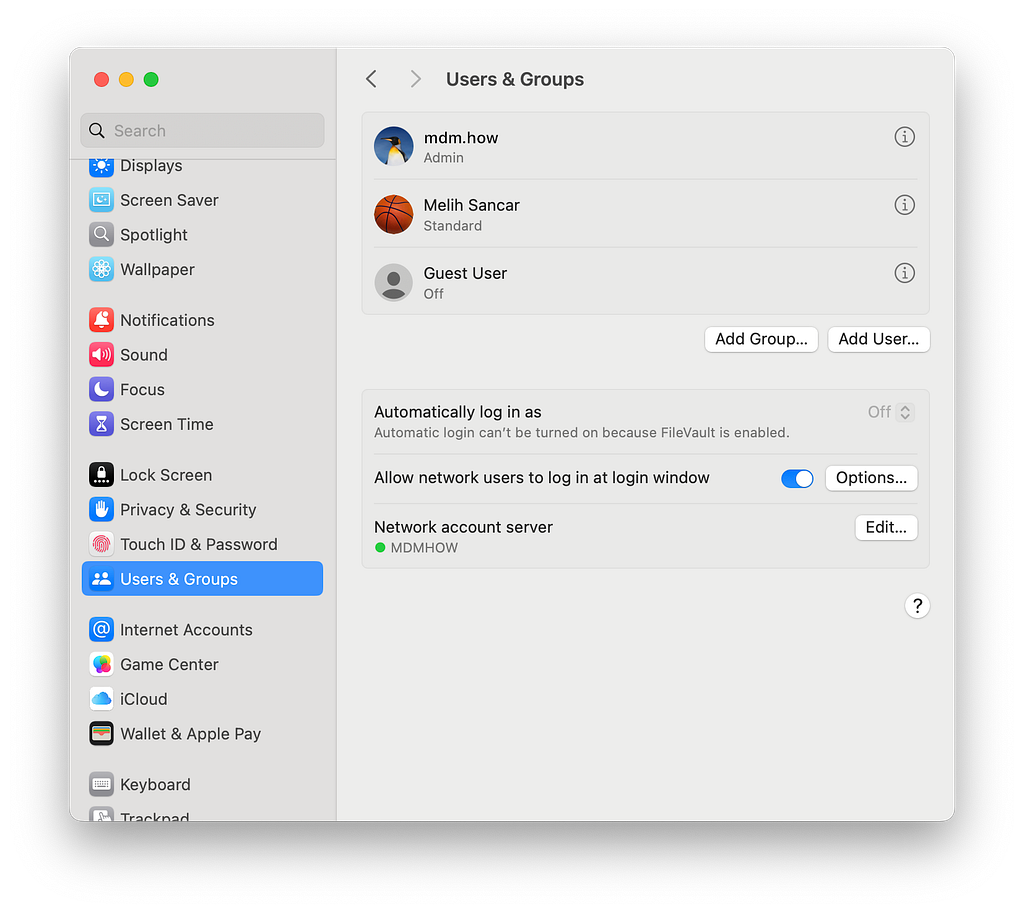
Simply click the Edit button (or Join, depending on your version) located right next to the Network Account Server option in System Settings > Users & Groups to start the process. The screen that opens contains a link to the Directory Utility application. You can launch Directory Utility. Since this article is already quite long with its current content, I won’t explain this method step by step here, but basically, you can bind your Mac to AD using the address of your Active Directory server and the details of an Admin user on AD. If you wish, you can also enable the Mobile Account option to cache account information. This allows users outside the company who are registered on your on-premises AD server to log in to their computers from anywhere.
Although adding Macs to Active Directory Domains is still a viable option for some, it can cause certain issues. Let’s elaborate on this a bit.
Let’s assume we have a newly purchased Mac that has been set up using Setup Assistant. When you reach the step in Setup Assistant where you create a computer account, you set a username and password. The password you create is the password for the Admin user that allows you to log in to your computer. However, this password is also used to protect the Keychain database. When you change the password you use for computer login (note: I’m not saying when you reset it), the Keychain password automatically changes in sync with it.
But if you forget your password and have to reset it, then the situation changes. When you reset your password, you only reset the Login password for computer login. The Keychain password does not sync with it. You may be able to log in to your computer, but you’ll have to say goodbye to the items stored in the Keychain database and continue your life by creating a new Keychain.
Now I’m getting to the part related to Active Directory. When a user requests a password reset from the AD Admin, stating that they have forgotten their password, this password can be easily reset via AD. The user can then access Outlook Web Access and many other online places with their new password. However, when they try to log in to their computer, the password on the computer is not synchronized with the AD password. And they cannot log in to the computer.
For these and similar reasons, the AD Bind option has become a method with little to no use in the Apple ecosystem and is not preferred. Unlike many other MDM solutions, Microsoft Intune does not offer a ready-made profile or similar tool for binding Macs to AD domains. If you wish to do this, you can prepare your configuration using applications such as Apple Configurator or iMazing Profile Editor, upload it to Intune, and distribute it to Mac users.
Phase 3: Enterprise Connect
Many technology companies have first-level support teams that assist users with their products. However, for issues that cannot be resolved by these free support teams, you can purchase the manufacturer’s paid services, known as Professional Services. This way, an engineer assigned by the manufacturer will work on your issue related to the MDM solution you are using.
Apple also has a Professional Services team. In fact, there isn’t just one team; there are different teams for different regions. These teams assist you (for a fee) in implementing your corporate Apple projects. You can visit this address for information about APS services.
Enterprise Connect is an application designed for use by Apple Professional Services teams in their projects. So what does it do? It enables Macs to communicate with an on-premises Active Directory environment, regardless of whether the Macs are joined to Active Directory or not. It does this by using macOS’s built-in Kerberos client. It ensures that each user can obtain a valid Kerberos TGT.
It does not require Mac to be joined to AD and works with local accounts, synchronizing their passwords with AD passwords. It sends notifications to users when their password renewal date is approaching. And it allows users to change their AD passwords through a small application added to the menu bar.
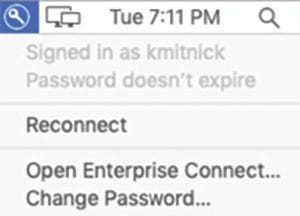
Enterprise Connect has now been discontinued. Starting with macOS Catalina (10.15), it has been replaced by the Kerberos SSO Extension, which I describe below. However, even during its period of usage, it was not a publicly available application. It was developed for use only in projects implemented by the APS team.
Since the distribution of this application was somewhat closed-loop, you won’t find any section within your MDM solution to configure Enterprise Connect. To configure it, mobile config files are used, as is common in many areas. There is even a payload in the Profile Creator application that allows you to easily configure Enterprise Connect. But let me repeat, this application no longer exists.
Phase 4: Kerberos SSO / Extensible SSO
The Enterprise Connect app has been replaced by a new structure that can be managed with MDM starting with macOS Catalina. Apple calls this structure the Extensible Enterprise Single Sign-On Framework, and it enables authentication information held by various IdP vendors to communicate with our systems. I recommend watching the following Apple Developer presentation on this topic.
Introducing Extensible Enterprise SSO – Tech Talks – Videos – Apple Developer
It is possible to use two separate SSO plugins to allow users to log in to the computer with IdP credentials and access various applications and resources after logging in. One of these is Kerberos SSO, and the other is Extensible SSO.
Kerberos SSO
The Kerberos SSO extension, which can be considered the equivalent of Enterprise Connect, allows users to log in to their Macs with their AD accounts. If your environment has an on-premises Active Directory server:
• Manage Macs without joining them to Active Directory domains
• Synchronize users’ local accounts with their AD account passwords
• Send notifications regarding password change times
• Allow users to change their AD password directly from their Mac
You should use the Kerberos SSO extension for such tasks. You can access Apple’s documentation on the Kerberos SSO extension and its usage at this address.
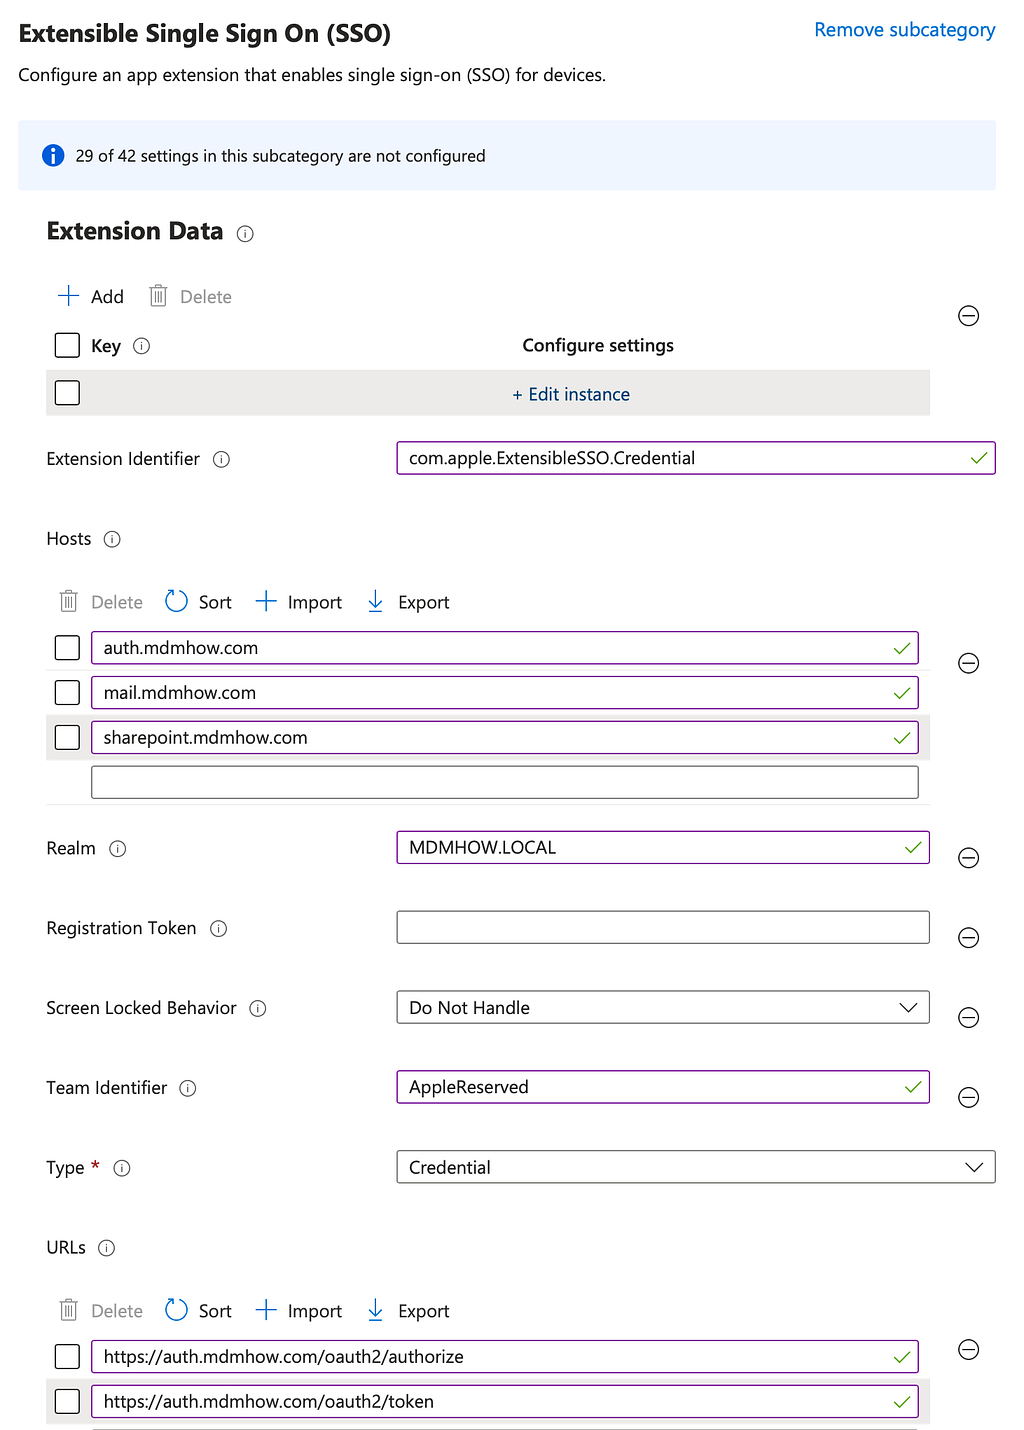
When you want to configure Kerberos SSO through Microsoft Intune, you can use the Extensible Single Sign On Kerberos section under the Authentication option in the Settings Catalog.
Extensible SSO
Your work isn’t done just because your users log in to Mac with their Active Directory accounts. You also need to solve the issue of users having to enter separate usernames and passwords for all the applications and services they access. Extensible SSO plugins enable us to do this. Once the user passes the authentication step, they are automatically logged in to, for example, Microsoft Teams or any corporate CalDav service. Extensible SSO configuration has two main types of usage: Redirect and Credentials. This differentiation varies depending on where the applications and services you want your users to access are located. If the services your users will access are mostly cloud services and they need to access them using methods such as OIDC, OAuth, or SAML2, you need to configure the Extensible SSO extension using the Redirect method. When a user wants to access any application, this request will be forwarded to the IdP by the SSO Extension, and access to the application will be authorized with the response received from there.
If the services to be accessed are also on-premises, then the preferred method should be Credentials. This will allow access to resources such as intranet portals, corporate file sharing environments, and printers using a Kerberos Ticket obtained in this way.
When you want to configure Extensible SSO through Microsoft Intune, you can use the Extensible Single Sign On section under the Authentication option in the Settings Catalog.
Phase 5: Primadonna of the article, Platform SSO
I know this post is a bit long. But we’ve only just gotten to the main point. If you haven’t fallen asleep by this line or picked up your phone to dive into Instagram Stories or TikTok, I congratulate you. 🎉
Let me give you a very brief summary. This summary will also position PSSO usage among the other options.
- If you are looking for a solution for the devices of a 5-person company operating from a single address, look no further. Use local users for their devices. You can keep going by paying attention to some basic device security steps.
- If you have a small Mac team in an organization with an on-prem Active Directory and these users’ computers are manually joined to AD, they can continue that way for now. The most important thing to keep in mind is password change times.
- If you have a small Mac team in an organization with an on-premises Active Directory and are looking for a solution to allow these users to log in to their computers using AD credentials, the Kerberos SSO extension will do the job. In addition to the Kerberos SSO extension, you can enable your users to automatically log in to various resources by using the Extensible SSO extension.
Platform SSO, Finally
Platform SSO was developed by Apple to put an end to this conceptual confusion and bring balance to the Force. As you read above, we needed separate configurations: one for users to log in to their Mac, and another to allow them to access all corporate resources and applications with a single password while using their Mac. Platform SSO combines these two. With a single configuration, we can enable users to log in to Mac with their IdP credentials and also authorize access to corporate resources.
PSSO was released with macOS Ventura for the first time for the first time. New features continued to be added in the following macOS versions. I will discuss the ones added with macOS Tahoe below.
Microsoft was the first IdP to integrate PSSO with Entra ID. Okta followed with Desktop Password Sync. All other IdPs will support this new and modern extension in turn.
Platform SSO configuration is typically located within the Extensible SSO configuration in many MDMs. In this context, when you want to configure Platform SSO via Microsoft Intune, you can use the Extensible Single Sign On section under the Authentication option in the Settings Catalog. Platform SSO is a separate category within Extensible Single Sign On. You can configure Platform SSO as shown in the screenshot below and send it to users. Many of these configuration settings come from this Microsoft article.
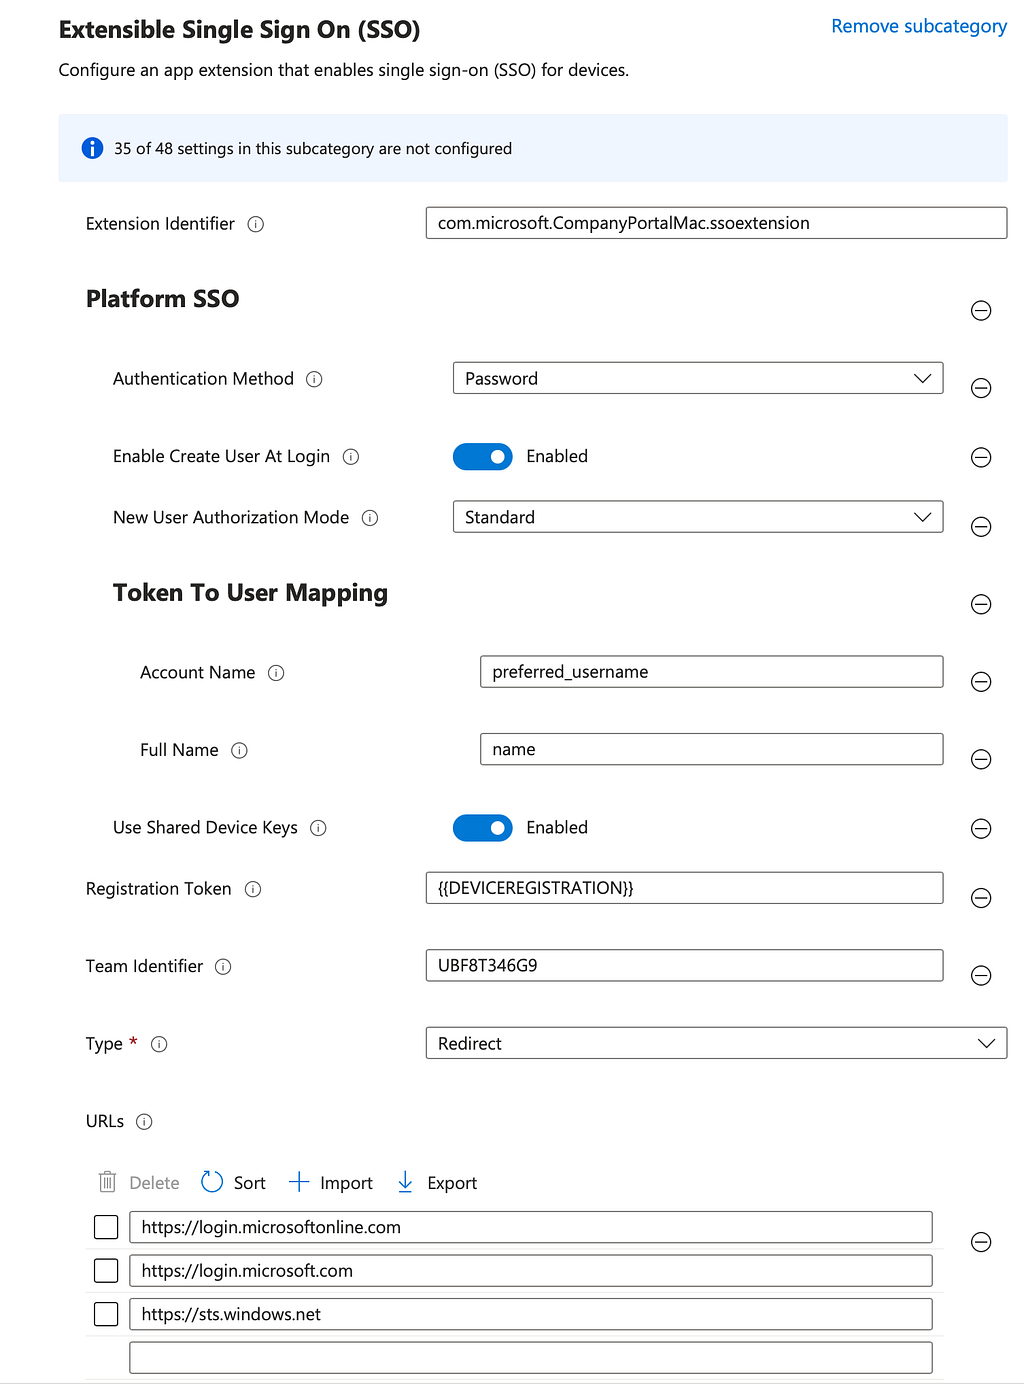
Depending on your preferences regarding internal account management, you can make changes, particularly in the Authentication Method section. There are three options available in this area.
Password
This option is used to match the passwords of local accounts on your users’ computers with the passwords defined in Entra ID. Changes made in accordance with your organization’s password policies directly affect user passwords. The user account name remains unchanged, and only the password is synchronized. Users can use biometric authentication features such as Touch ID. However, as you know, the Entra ID password must be re-entered after every restart. This is actually also the case for local accounts.
In some cases, the user can use the password they used when creating their local account instead of their Entra ID password. Since FileVault disk encryption is tied to the first password, that password is not deleted from the device.
Secure Enclave
You may not have heard of it before. Secure Enclave is a hardware component used in all iPhone 5s and later models, all Mac models since the first MacBook Pro with Touch Bar (and of course other Apple hardware). This component stores the biometric data we use on our devices (such as fingerprints and faces). In addition to biometric data, Secure Boot preferences and FileVault keys are also stored in this area called the Secure Enclave.
When this method is selected, the local username and password remain unchanged. When accessing any application or web resource that requires a password, it uses a cryptographic key stored in the Secure Enclave instead of the Entra ID password. The primary purpose of using this method is to promote the use of MFA (Multi-Factor Authentication) and reduce reliance on passwords.
Smart Card
This method, which uses the certificate defined in the smart card held by the user and the PIN number as the authentication method, is designed to eliminate the need for passwords, just like Secure Enclave. The local user name and password prior to PSSO configuration remain unchanged and protected.
You can access a comparison table for these three authentication methods at this address. Although Microsoft’s article states that the recommended method is Secure Enclave, the priority for IT administrators will be Password Authentication. The reason for this preference can be attributed to reducing the number of passwords users need to remember and enabling users to log in to their Macs with their Entra ID passwords. As you can see from the comparison in the Microsoft article I mentioned above, Secure Enclave and Smart Card Authentication methods do not involve synchronizing the local account password with Entra ID.
How does it work after distributing the configuration?
Let’s proceed with two different scenarios:
1. Devices currently in active use
2. Devices to be set up from scratch
1. Devices in use (Device Enrollment)
If a Mac has been previously unpacked, handed over to a user, and is still in use, you can enroll that device in an MDM without resetting it. The name of this enrollment method may vary depending on the MDM vendor. However, Apple calls it Device Enrollment. The process is similar for almost every MDM solution. Your MDM server typically provides an enrollment link via a URL. The user accesses that link and downloads the MDM Enrollment Profile. They install the profile via System Settings with admin privileges, and the device is then enrolled in the relevant MDM.
The way to do this specifically in Intune is manually through the Company Portal app. Microsoft does not provide us with a URL, but instead tells us to use the Company Portal app. You can download the Company Portal app from this address. The installer you download will be in .PKG format, and you will need admin privileges to install it on your computer. After installation is complete, the first time you open it, a screen will appear prompting the user to enter their user information as defined in Entra ID.
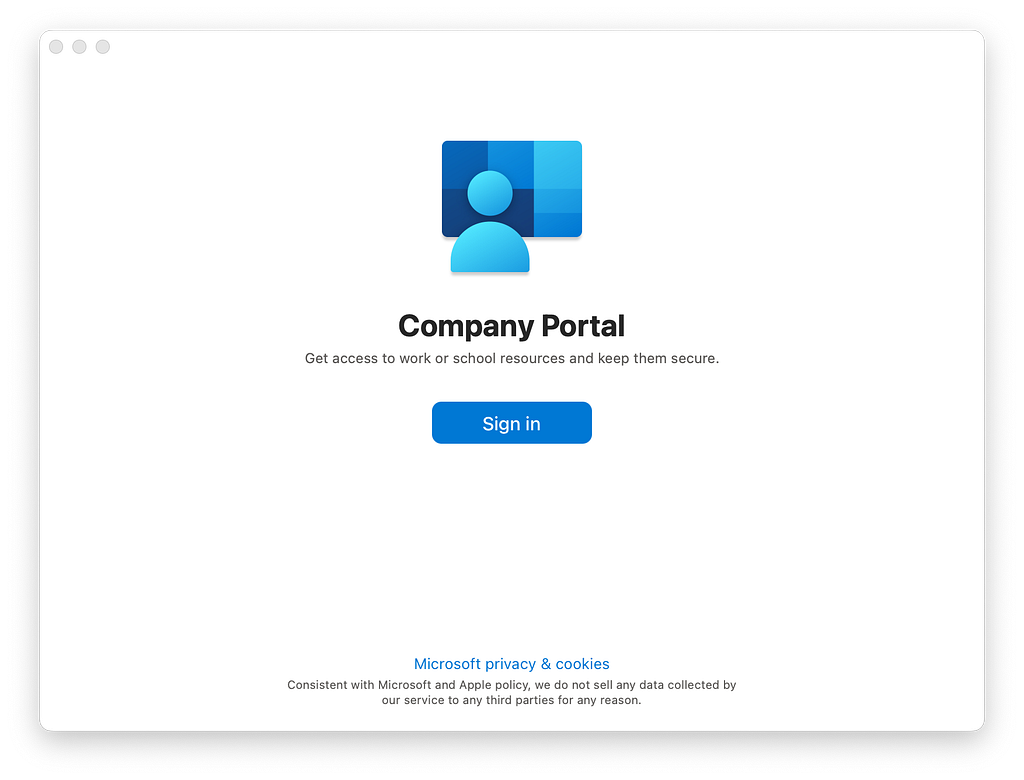
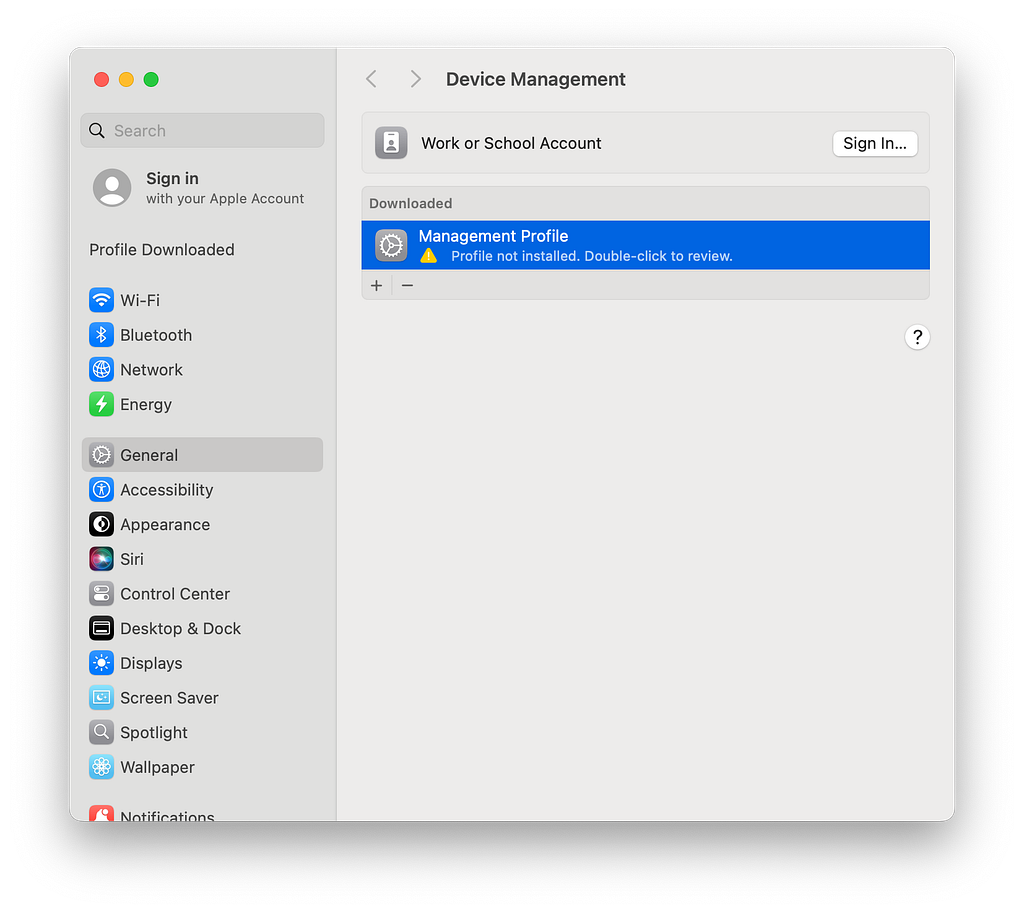
In the next step, a screen starting with Begin will appear on the Company Portal screen. This is the first step in downloading the MDM enrollment profile I described above via the Company Portal. Click the Begin button. In the next step, you will see information about what your organization can and cannot do on your device via an MDM. Click the Continue button and then the Download button to download the enrollment profile. After the profile is downloaded, you will see a Profile Downloaded notification like the one below. You can continue the rest of the process through System Settings.
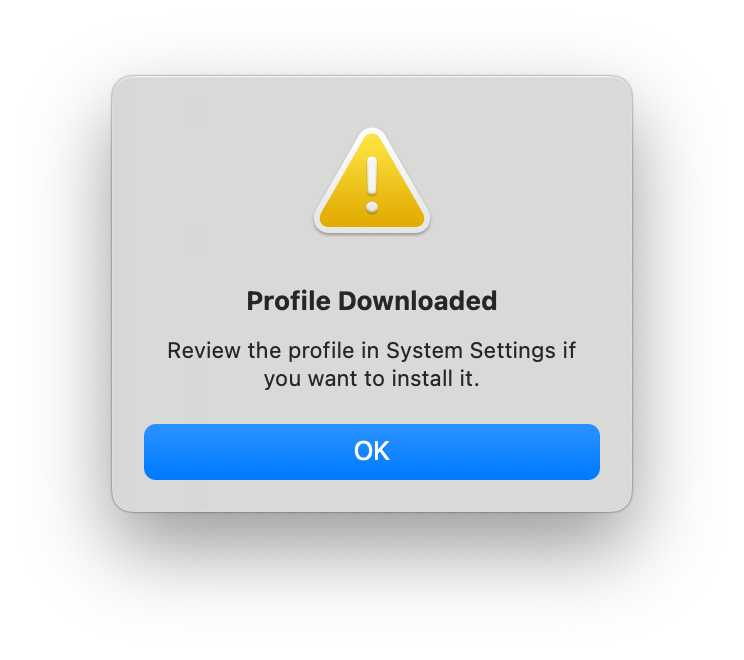
When you go to System Settings > General > Device Management, you will see the enrollment profile waiting to be loaded. Double-click on it to start the loading process and enter your Admin password when prompted. After the enrollment profile is installed, all profiles and applications will automatically load. If you have also configured Platform SSO and sent it to all devices, PSSO will also appear among the profiles that will be automatically installed.
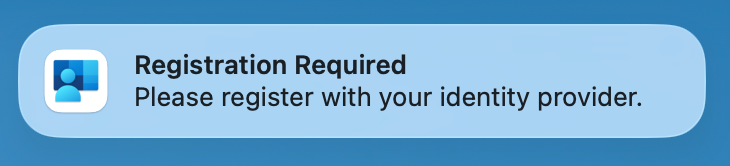
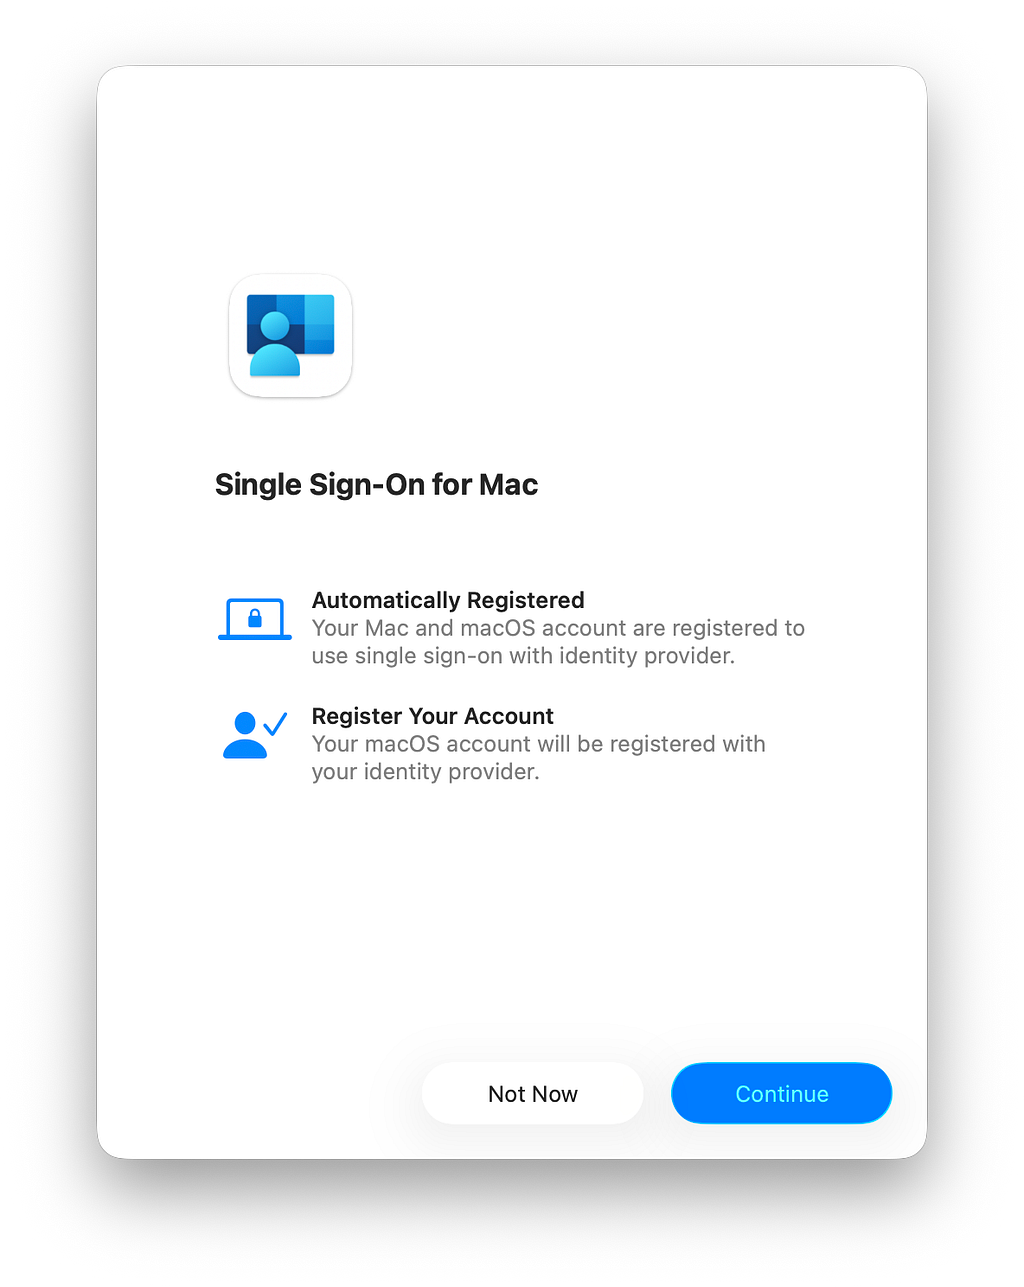
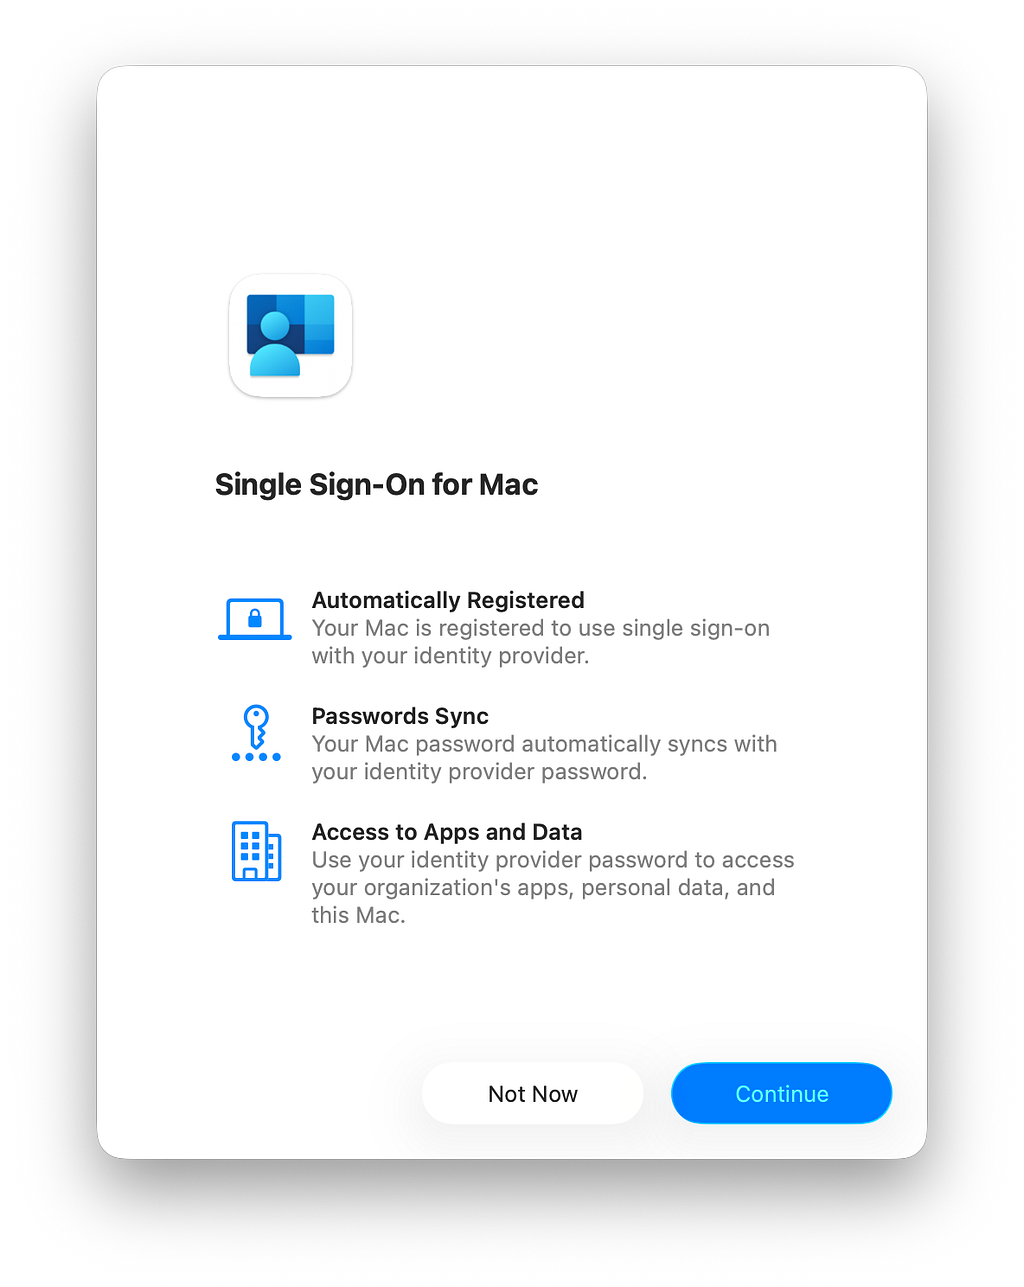
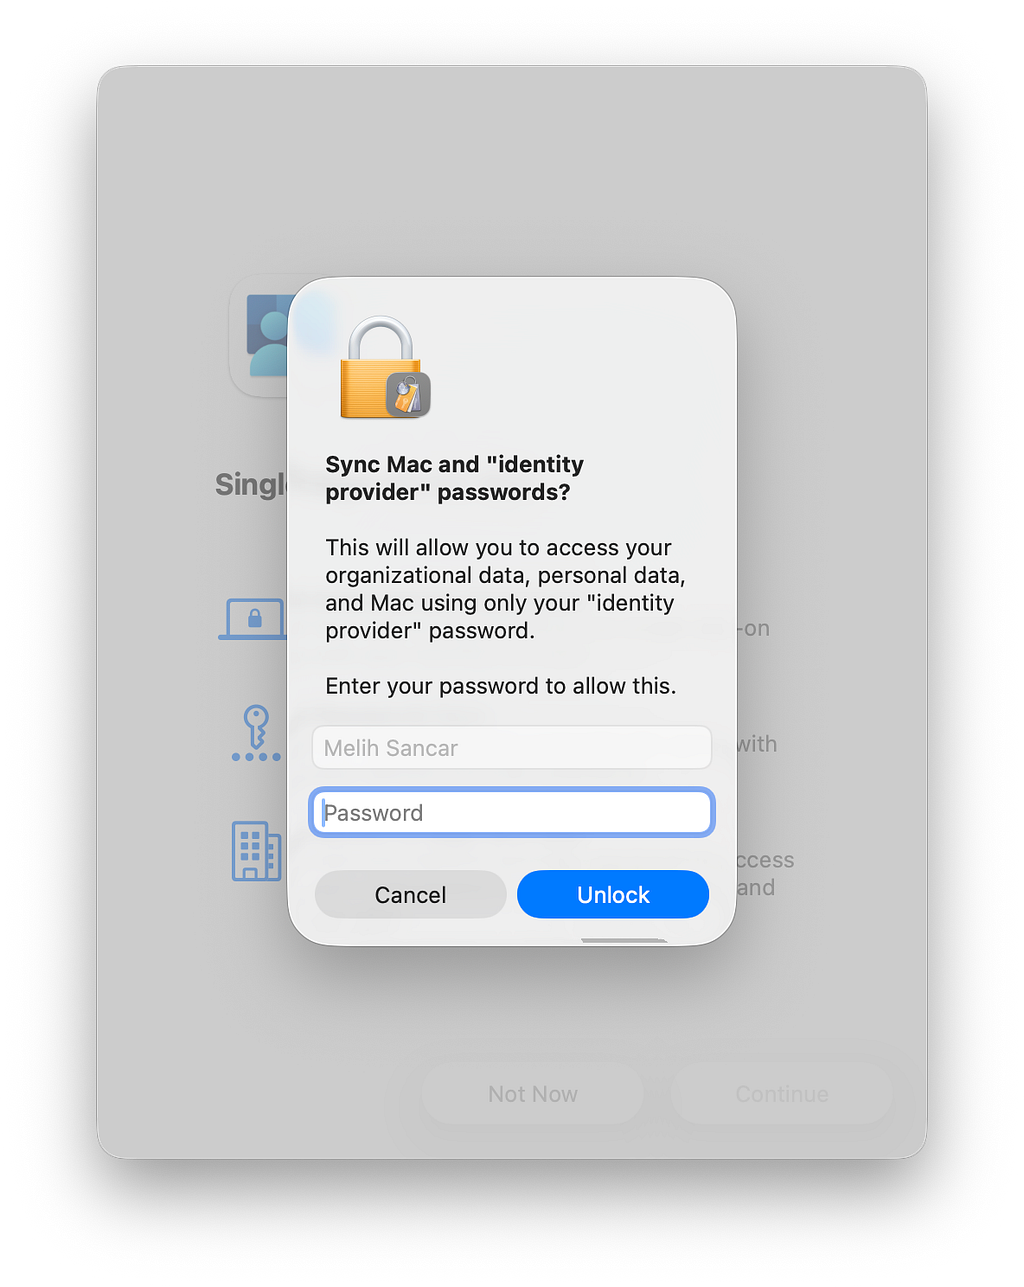
When the devices you manage get this configuration, a notification titled Registration Required appears to the currently logged-in user. When the user clicks on this notification, a page titled “Single Sign-On for Mac” opens. After entering their local account password, followed by the username and password defined in Entra ID, the current local user is linked to the user information in Entra ID. After entering the Entra ID password, the user will also need to verify with Microsoft Authenticator for MFA.
2. Devices to be set up for the first time (Automated Device Enrollment)
If your users have not yet claimed their devices, the Automated Device Enrollment method can be used for automatic enrollment in MDM. To use this method, you must configure Intune as an MDM Server with Apple Business Manager and then assign the devices you will manage from ABM to Intune.
Devices listed in the Devices section of Apple Business Manager and assigned to Intune as an MDM server retrieve the enrollment profile from Intune during their first startup. To do this, you must first prepare an Enrollment Profile in Intune. To do this, go to the Intune Admin Portal, navigate to Devices > macOS > Enrollment > Enrollment program tokens, and select the DEP enrollment profile you previously created. After selecting this profile, click the +Create button in the Profiles section of the page that opens to configure your MDM enrollment profile settings.
The enrollment profile settings in Intune can becovered in a separate article. But to briefly explain the settings there, there are three main points you need to pay attention to. Management Settings, Setup Assistant and Account Settings.
Under the Management Settings section, you can determine whether to require user authentication using the User Affinity options during enrollment. This process requests Entra ID information during the computer’s initial setup, and the device cannot be activated or opened (even if reset) by someone without an active account. Additionally, the Locked Enrollment feature to prevent the user from deleting the MDM enrollment profile is also found under Management Settings.
Under the Setup Assistant section, you can choose which steps to show and which to hide during the initial setup of a Mac. If you are deploying devices using the Zero Touch Deployment method, this process will prevent users from seeing screens that are not relevant to them during the initial setup.
Under the Account Settings section, you can create a hidden Admin account for IT management usage, automatically create a local account for end-user usage, select the account type (Standard or Admin), and enable the username to be automatically populated based on the information filled in User Affinity.
The password for the hidden Admin user that IT management will use is not set in this area. A password automatically generated by LAPS is created, and this password can be viewed within Intune from device records.
To use PSSO with the Automated Device Enrollment method, the following three conditions must be met:
- The device must be assigned to Intune via Apple Business Manager
- An enrollment profile must be created in Intune
- The PSSO configuration must be prepared and sent to the device
If these conditions are met, the Microsoft Sign-in screen will appear among the Setup Assistant screens when the device is first turned on. After the user enters their login credentials and provides MFA verification, the registration process continues.
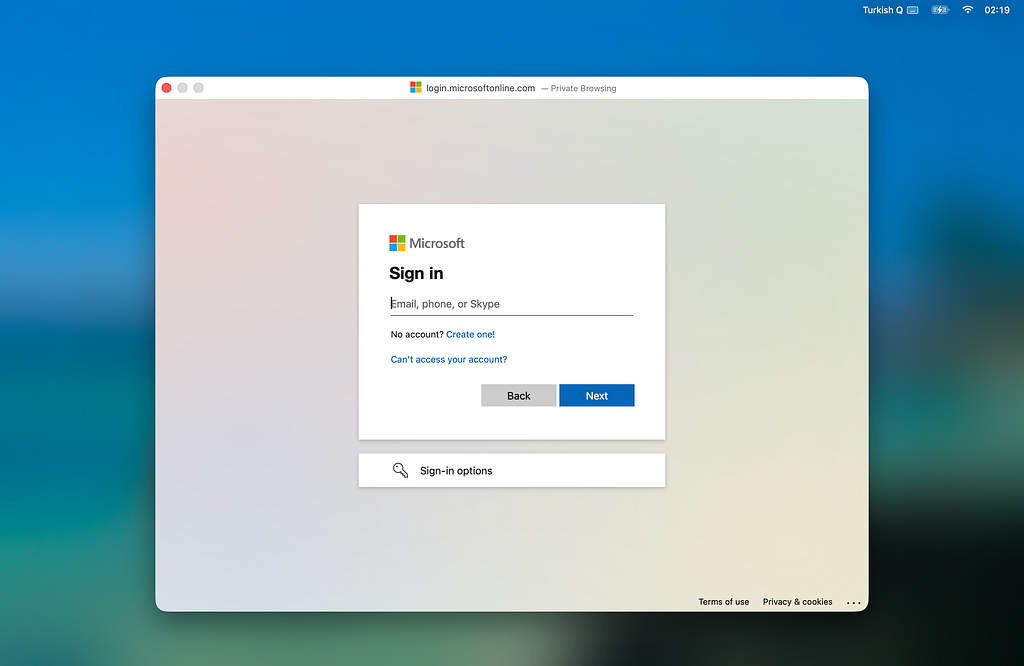
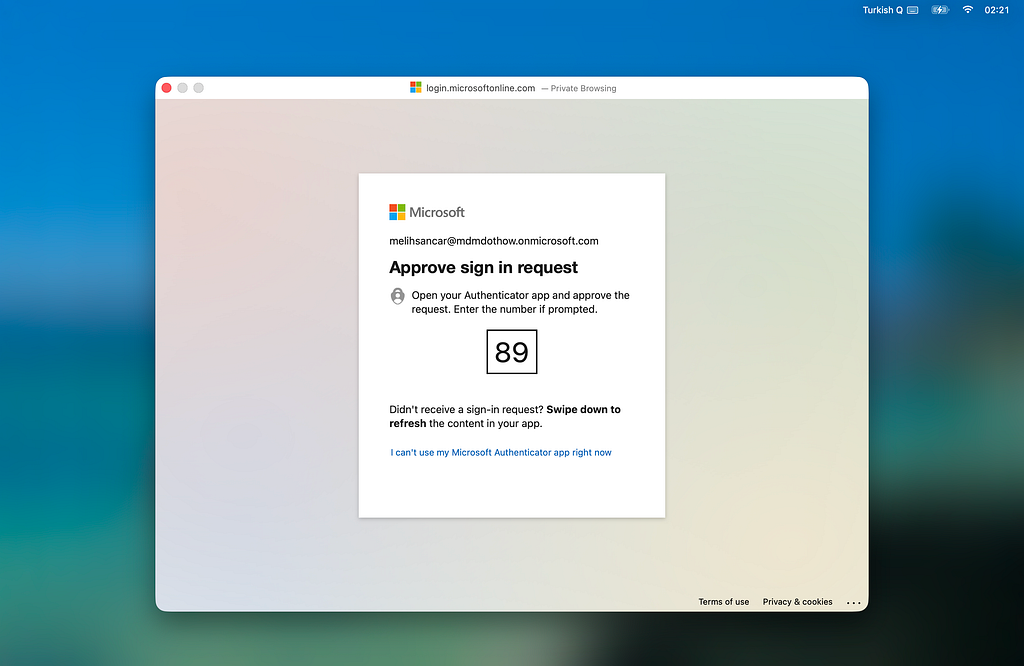
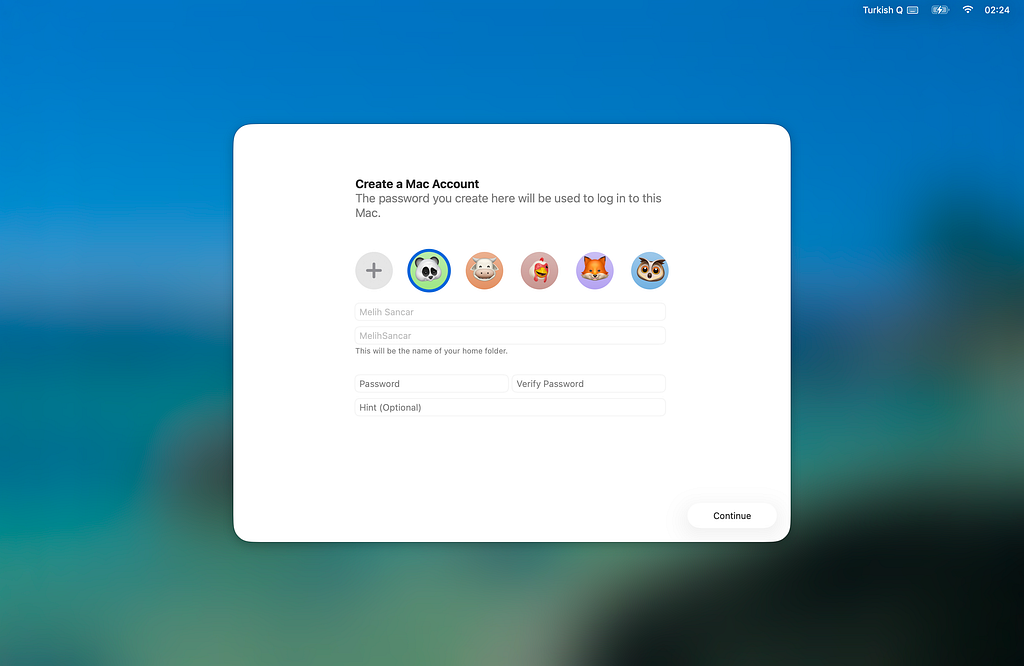
When setting up the Enrollment Profile within Intune, the Prefill Account Info feature selected is used to populate the user name entered on the Sign-In screen in the Create a Mac Account window. Only the password field is expected to be filled in this area. This password is the password for the local account created on the computer.
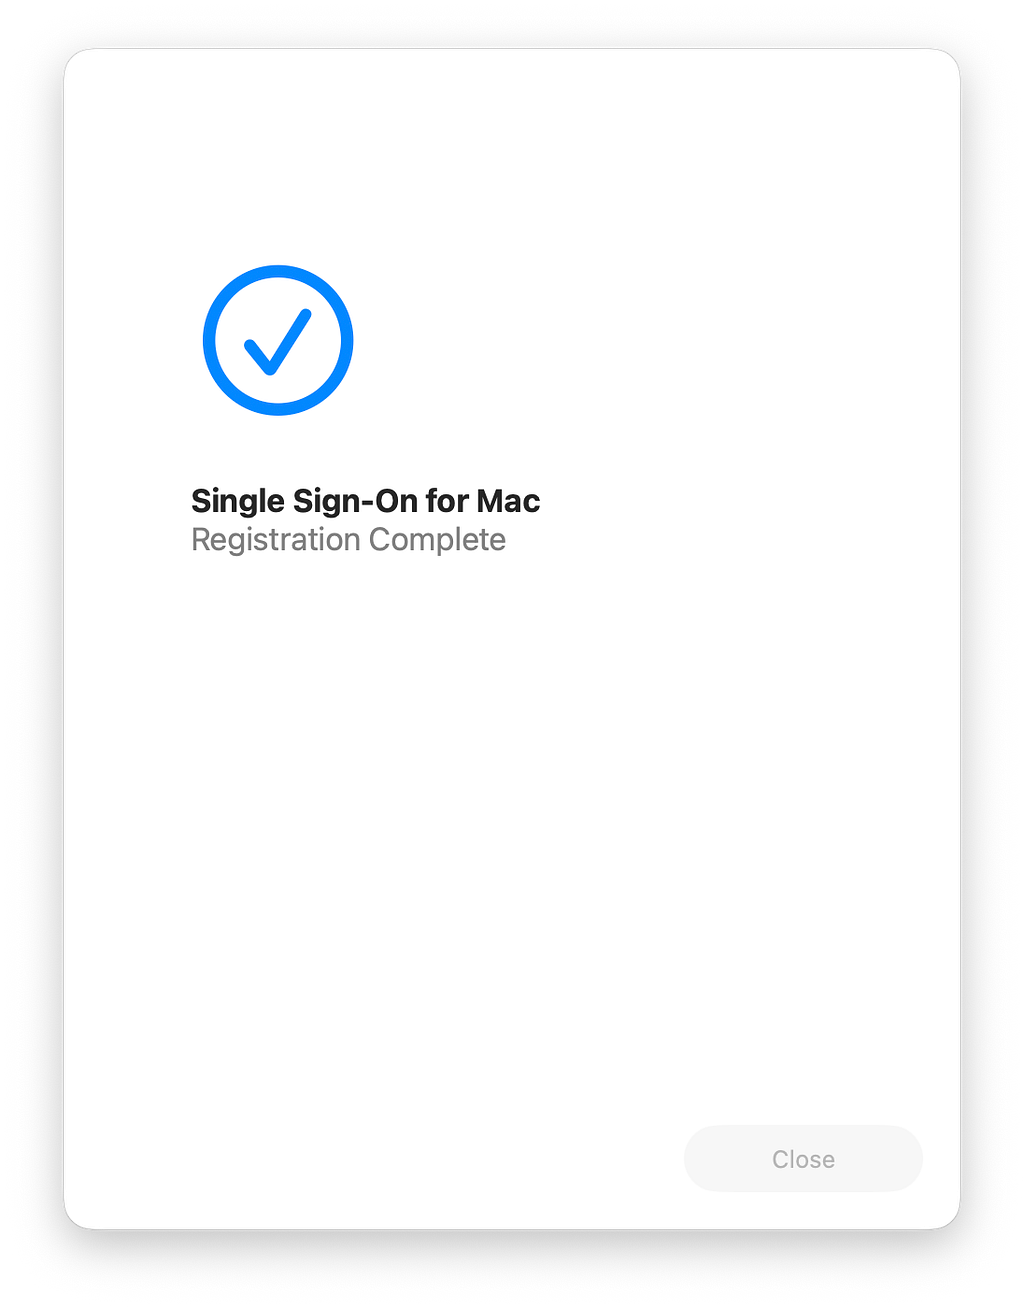
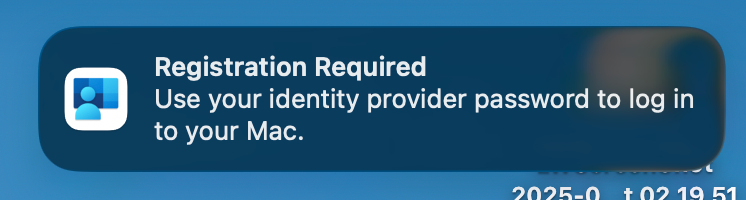
After completing the Setup Assistant steps and reaching the desktop, the process is very similar to the registration step in the Device Enrollment process. A notification stating “Registration Required” appears to the user. When the user clicks on this notification, a page titled “Single Sign-On for Mac” opens. When the user enters their local account password first, followed by their Entra ID username and password, the existing local user is linked to the user information in Entra ID. After the user enters their Entra ID password, they will also need to verify with Microsoft Authenticator for MFA. In the final step, another notification is displayed confirming that the linking has been completed.

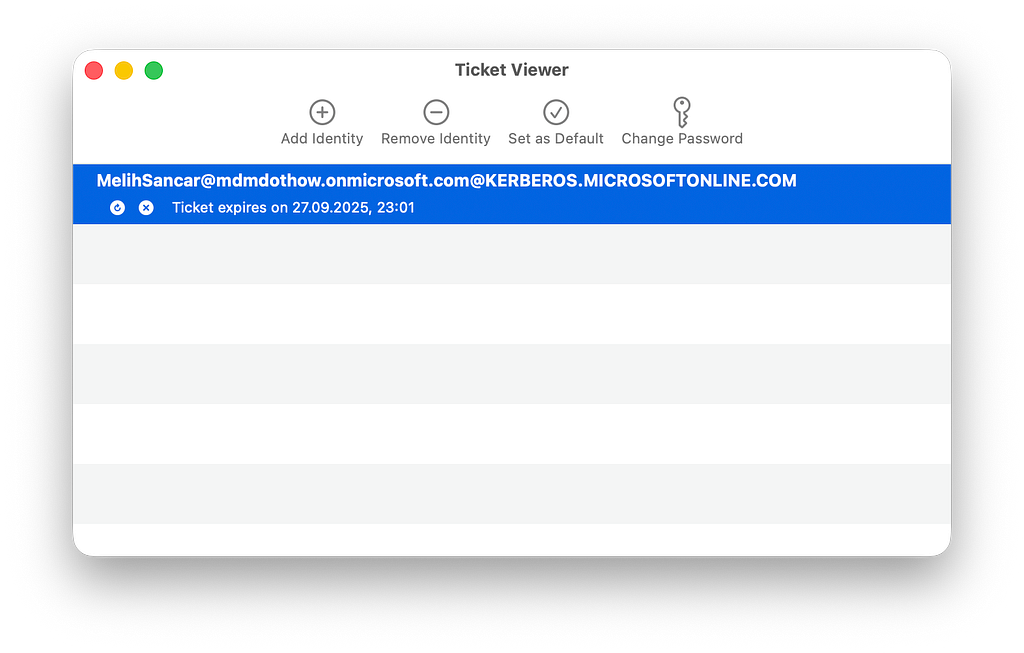
After completing the registration process, if you open macOS’s Ticket Viewer application, you can see the active Kerberos ticket. You can quickly access the Ticket Viewer application with a Spotlight search. But its address within the system is as follows: Macintosh HD / System / Library / CoreServices / Applications / Ticket Viewer.app
What’s new in macOS Tahoe?
As Apple announced at its WWDC 2025 event in June, it will now support Platform SSO in Setup Assistant. With this support, you won’t need to click on a notification that appears on your desktop and follow the steps I mentioned above to complete the Platform SSO registration process. You will be able to complete the registration process in Setup Assistant and access your desktop.
You can watch the presentation on What’s new in Apple device management and Identity from WWDC 25 below.
What’s new in Apple device management and identity – WWDC25 – Videos – Apple Developer
Last word
Thank you very much for reading this long article to the end.