
When setting up a Mac -that is not managed by any MDM- for the first time, a screen appears among the Setup Assistant screens asking you to create your first computer account. On this screen, you specify a name, an account name, and a password for the account you are creating. If you wish, you can also assign the right to reset this password to your Apple account. When you create this first account, its privileges will be Administrator.
Before delving into the details, let’s briefly review the account types available in macOS:
Administrator
This is the first account created. It generally has the authority to change system settings, install any application on the computer, and perform system updates. It can be created by the Setup Assistant when setting up the computer for the first time, or after the computer is set up, it can be created from System Settings > Users & Groups.
Standard
The standard account is suitable for general use. It can perform many tasks. It can download applications from the App Store. It can change settings related to its own user, except for settings that affect the entire system. Standard accounts can be created from System Settings > Users & Groups.
Guest
It is designed for users who need to use your computer temporarily. It is disabled by default. Access to the computer and shared folders can be granted. All files created are automatically deleted when the user logs out. Guest accounts can be enabled in System Settings > Users & Groups.
Root
Root is the most privileged account in macOS, above even the Administrator account. It can change any setting without restriction. It has read and write permissions everywhere except folders protected by SIP. By default, it is disabled from logging into the computer. Login permission can be granted by the Directory Utility application located at Macintosh HD / System / Library / Core Services / Applications within the system (Not recommended).
Sharing
This is an account type that cannot be logged into on the computer and is used solely for sharing. When you want to share a file or folder located on your computer’s disk, you can create a Sharing user by adding a line of ACE (Access Control Entry) to the permissions, allowing other users to access the file using this user information. Sharing accounts can be created from System Settings > Users & Groups.
If we need to create a hierarchical order, we can describe it as follows:
Root > Administrator > Standard > Guest
What are SUDO and SU Commands?
When using your computer with a Standard user account, macOS displays a warning screen informing the user that an Administrator password is required for an operation that requires Administrator privileges. Since the standard user does not have Admin credentials, they cannot perform the password-protected task. However, if the Admin user’s credentials are available, the standard user can perform the required task with Admin privileges without logging out of their standard user account and switching to Admin. But this does not grant permanent Admin privileges. It is only valid for that specific command.
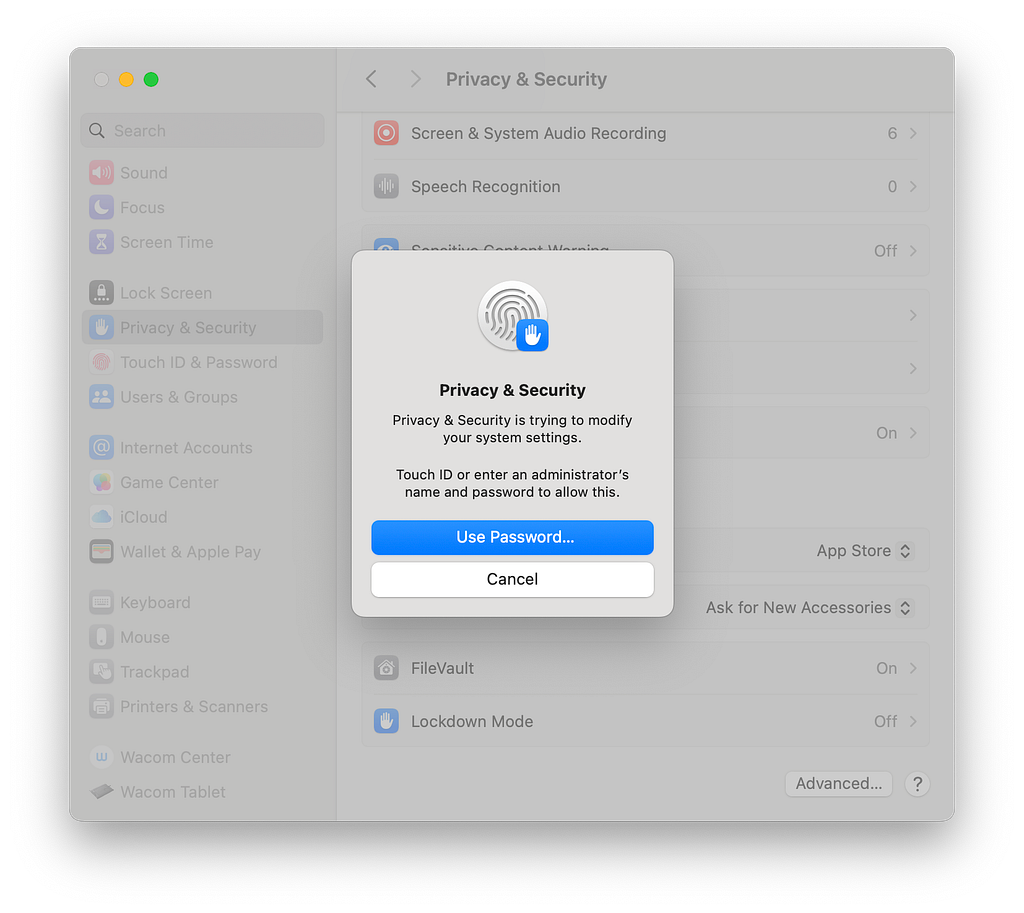
Similarly, if a standard authorized user runs a CLI application via the Terminal application, their permissions are also limited to standard user permissions. If they need to run a command that requires admin privileges, they can switch to an admin-authorized user account using the SU command. To do this, they simply need to type:
su adminusername
After that, the user will need to enter the password of the user they wish to switch to. From this point on, they can use Terminal with Admin privileges.
Similar to how a standard user switches to the Admin account via GUI or CLI when Admin privileges are required, an Admin user must use the SUDO command via Terminal if they need Root user privileges for any reason.
When you type any command beginning with the word SUDO, you will be prompted for the Administrator user password in the next step. After providing this password, you can perform the operation with Root user privileges.
Can a standard user use the Sudo command?
Short answer is, No. They cannot. If a standard authorized user types a command starting with sudo and presses Enter, then enters their own password in the password section, they will receive the response “username is not in the sudoers file.”
Having said that, if a standard user switches to the Admin user by typing su adminusername in Terminal, they will then be able to use sudo commands.
If we receive the warning “The name of our standard user is not in the sudoers file” it means that somewhere on our computer there must be a file that contains a list of users who have permission to use the sudo command. The address of this file is /etc/sudoers.
The etc folder is a hidden folder. Therefore, while in Finder, you can go there by selecting Go > Go To Folder and typing /etc in the window that pops up.
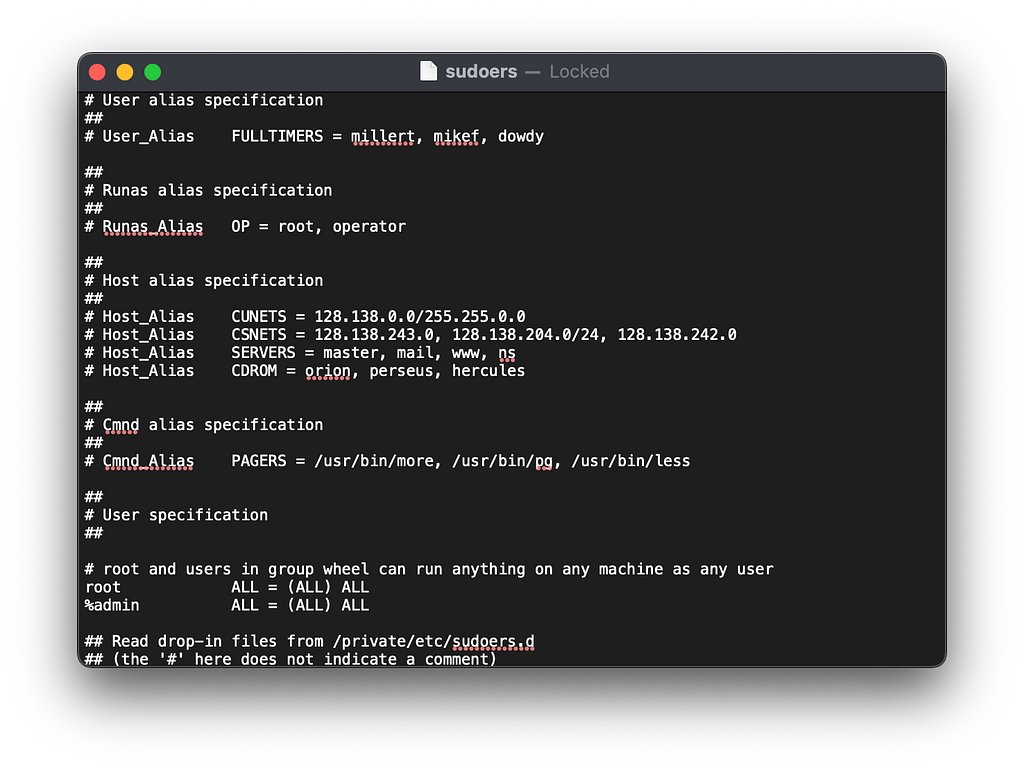
Like many system folders, the etc folder and its contents are read-only. You cannot make any changes. However, you can edit the file using a CLI command called visudo. To edit the sudoers file, start by typing the following in Terminal.
sudo visude
Since you are using sudo, it will first ask for the Admin password. After entering the correct password, the sudoers file will appear. If you want to grant a standard user the right to use sudo commands without making them an Admin, you can use the following command.
username ALL = (ALL) ALL
You can add this command below the root and %admin lines. After adding your actual username, move to the last line and type the following command to save the changes and exit visudo.
:wq
After performing this operation, you can switch to the standard user account whose username you added to the sudoers file and try it out on Terminal.